
Seamless Containerization for Beginners
Introduction:
In this sample project, we will create a simple Node.js application that saves user information (username, email, and contact) in a MongoDB database. We will then containerize this application using Docker and deploy it on a local machine.
Prerequisites:
- Login to your docker hub account.
1. Creating the Node.js Application
I’ve created a simple Node.js application for this demo purpose. You can find the source code on GitHub: node-app-test
Set Up Your Project:
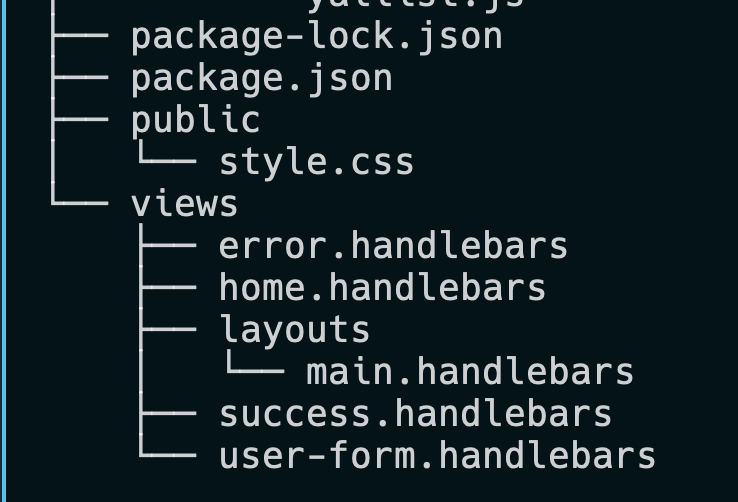
Create a new directory for your project and navigate into it using your terminal or command prompt.
Initialize Node.js Project:
Run the following command to initialize a new Node.js project. This will create a package.json file with default settings:
npm init -y
This command assumes default settings for the package.json file. You can customize the settings interactively if needed.
Create app.js file and copy following code:
const express = require('express');
const mongoose = require('mongoose');
const bodyParser = require('body-parser');
const exphbs = require('express-handlebars');
const path = require('path');

const app = express();
const PORT = 3000;

// Set up Handlebars as the view engine
app.engine('handlebars', exphbs.engine());
app.set('view engine', 'handlebars');

// Set up body-parser middleware
app.use(bodyParser.urlencoded({ extended: true }));

// Connect to localhost MongoDB
mongoose.connect('mongodb://localhost/user-input-app', {
  useNewUrlParser: true,
  useUnifiedTopology: true,
});

// Dynamic connection
// mongoose.connect(process.env.MONGODB_URI, {
//   useNewUrlParser: true,
//   useUnifiedTopology: true,
// });

const db = mongoose.connection;
db.on('error', console.error.bind(console, 'MongoDB connection error:'));

// Define the User schema
const userSchema = new mongoose.Schema({
  name: String,
  email: String,
  phoneNumber: String,
});

const User = mongoose.model('User', userSchema);

// Define routes
app.get('/', (req, res) => {
  res.render('home', { layout: 'main' });
});

app.get('/user-form', (req, res) => {
  res.render('user-form', { layout: 'main' });
});

app.post('/submit', (req, res) => {
  const { name, email, phoneNumber } = req.body;

  const newUser = new User({ name, email, phoneNumber });

  newUser.save()
    .then(() => {
      res.render('success', { layout: 'main' });
    })
    .catch((err) => {
      console.error(err);
      res.render('error', { layout: 'main' });
    });
});

// Serve static files from the 'public' directory
app.use(express.static(path.join(__dirname, 'public')));

// Start the server
app.listen(PORT, () => {
  console.log(`Server is running on http://localhost:${PORT}`);
});
Install Dependencies:
Open a terminal or command prompt, navigate to your project directory, and install the required dependencies using npm (Node Package Manager). Run the following command:
npm install express mongoose body-parser express-handlebars path
Start MongoDB:
Ensure that MongoDB is installed and running locally on your machine. If not, you can download and install MongoDB from the official website.
Start MongoDB by running mongod in your terminal.
Run the Application:
Once the dependencies are installed, you can run the application using Node.js. In the terminal, run the following command:
node app.jsThis command starts the Node.js server, and you should see a message indicating that the server is running on http://localhost:3000
Test the Application:
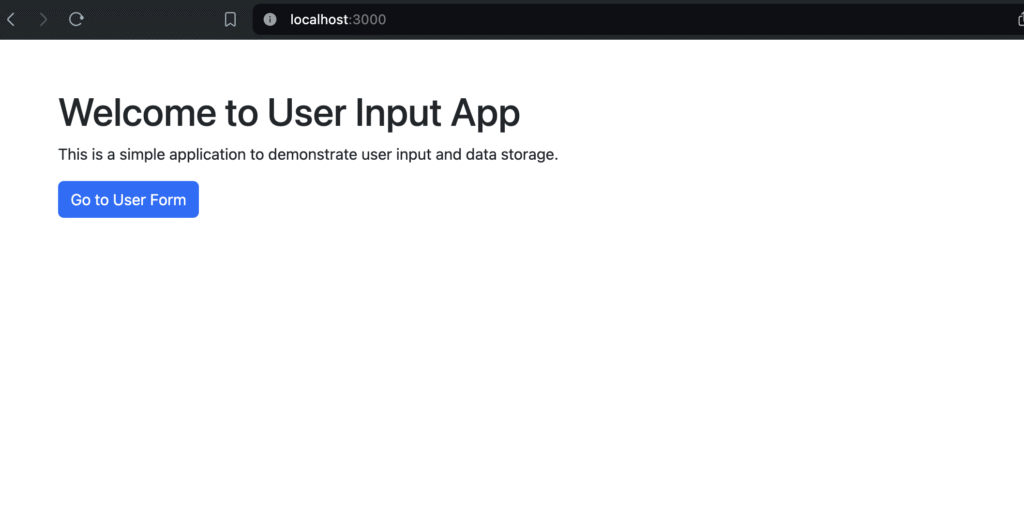
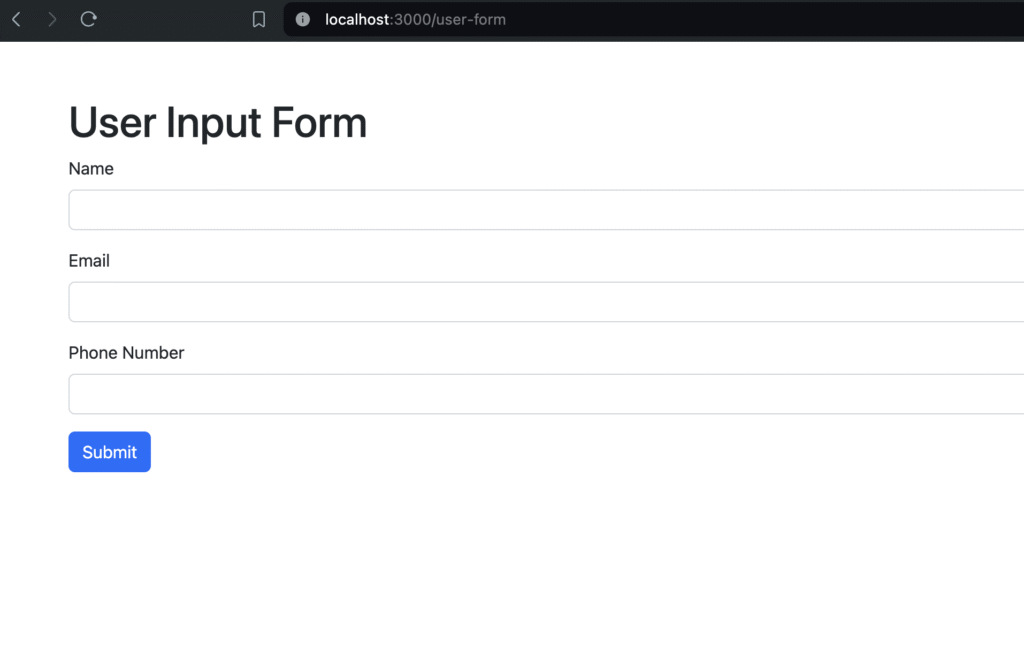
Open a web browser and navigate to http://localhost:3000 to access the home page of your Node.js application.
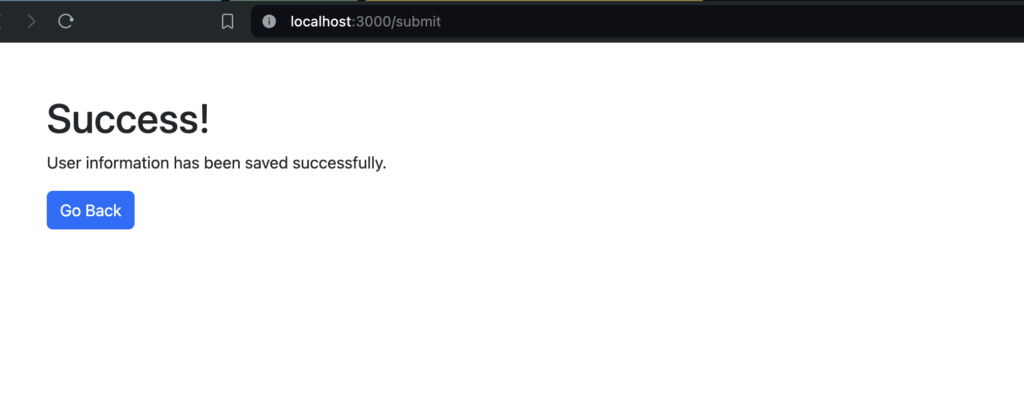
You can interact with the application by navigating to different routes, such as /user-form, and submitting user information.
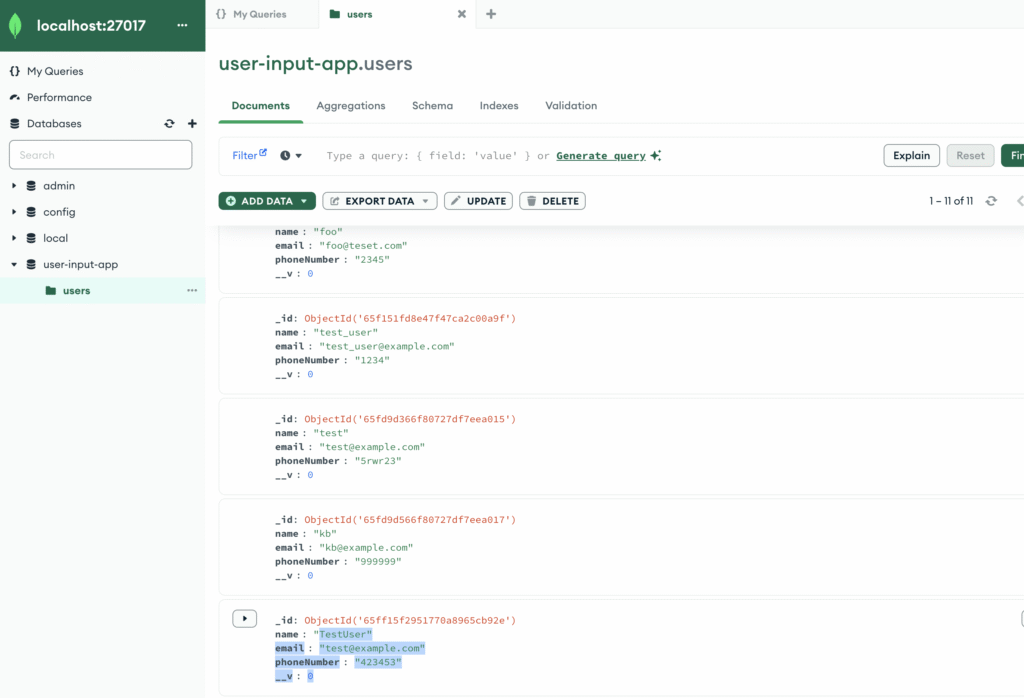
Verify MongoDB Connection:
Ensure that MongoDB is running locally on your machine. The Node.js application is configured to connect to MongoDB running at mongodb://localhost/user-input-app.
Make sure MongoDB is running and accessible at this URI.
Now that we’ve confirmed the application works seamlessly on our local setup, it’s time to containerize it with Docker !!
2. Dockerizing the Application
To containerize our Node.js application, we’ve created a Dockerfile. This Dockerfile specifies the environment and dependencies required to run our application within a Docker container. You can find the Dockerfile in the GitHub repository mentioned above.
FROM node:18.18.0

WORKDIR /app

COPY package*.json ./
RUN npm install

COPY . .

EXPOSE 3000

CMD ["npm", "start"]
Steps:
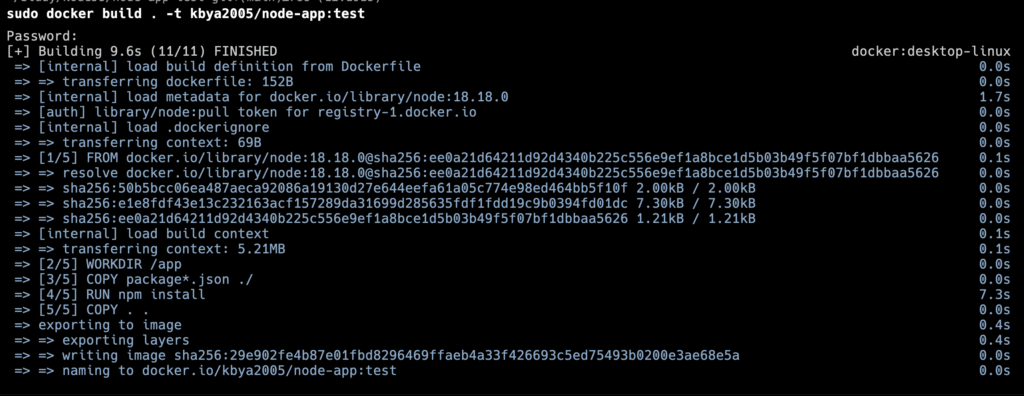
- Build the Docker Image
Use the docker build command to build a Docker image from your Dockerfile.
docker build -t <image_name> .
Replace <image_name> with the desired name for your Docker image.
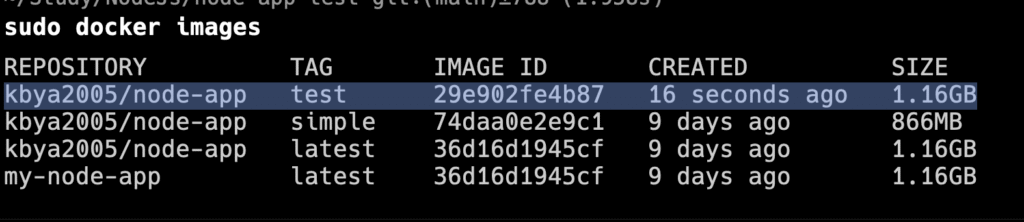
2. Verify the Docker Image
After building the Docker image, you can verify that it was created successfully by running
docker imagesThis command lists all Docker images on your system, and you should see the image you just built listed there.
3. Deploying Locally
After building the Docker image for our application, we tested it locally on our machine to ensure everything worked as expected. This step is crucial for verifying that our application behaves correctly within a containerized environment.
1. Run a Docker Container from the Image
Once the Docker image is built, you can run a container from it using the docker run command. For example:
docker run -p <host_port>:<container_port> <image_name>Replace <host_port> and <container_port> with the port mappings required by your application. If your Node.js application runs on port 3000 inside the container, you might use -p 3000:3000.
2. Access the Application
Open a web browser or use a tool like cURL to access your application running in the Docker container. If your application is a web server, navigate to http://localhost:<host_port> to interact with it.

NOTE: To create a customized Docker image and push it to DockerHub, please refer to this informative blog post
Next Steps
In the upcoming blog post, we’ll explore how to deploy our containerized Node.js application on a Kubernetes (K8s) cluster using a Continuous Integration/Continuous Deployment (CI/CD) pipeline.
Stay tuned for the next installment!